Let me start this post by saying I am not against bacon. I L-O-V-E love bacon and I'm pretty sure I could never be a vegetarian because I love it so. I am not, however, for the gratuitous use of bacon. You see it in everything lately, from salt to popcorn to toothpaste (!). Bacon doesn't need to be in everything but it absolutely belongs in these pralines.
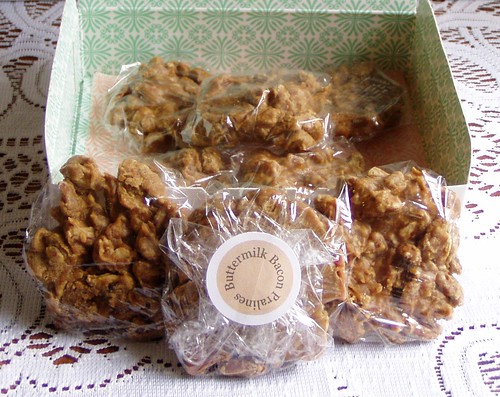
I found this recipe for Buttermilk Bacon Pralines while trying to put more notches on my candy thermometer. After reading the recipe, I could not get them out of my mind. This was my first attempt at pralines and they were not too hard but, dang, they are not kidding when they say to scoop these out quickly.
I found this recipe for Buttermilk Bacon Pralines while trying to put more notches on my candy thermometer. After reading the recipe, I could not get them out of my mind. This was my first attempt at pralines and they were not too hard but, dang, they are not kidding when they say to scoop these out quickly.

The crystalline, caramel, creaminess of the pralines goes perfectly with the salty smokiness of the bacon but I put a big red light on the orange zest this recipe calls for. It does not belong in there and all those who sampled the first batch agreed. I'm a huge fan of citrus but the orange competes with the bacon and I left it out of subsequent batches.
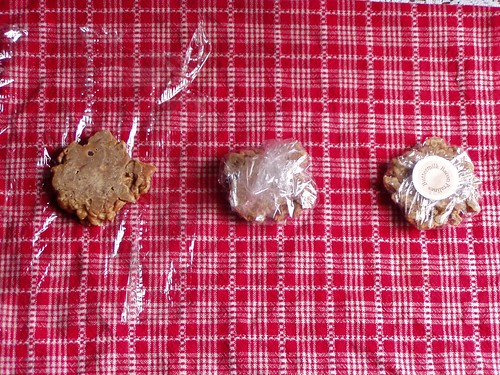
Since this batch was a gift, I wrapped each one individually in plastic wrap affixing little stickers that I made on the computer and printed on some FedEx sticker labels to the backs.
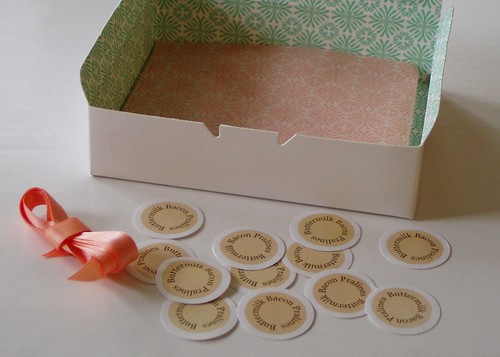
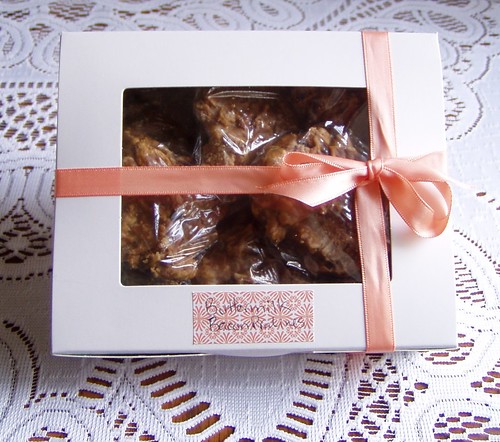
Tied it all up with a pretty bow and sent it on it's way!
Buttermilk Bacon Pralines
very slightly modified from Screen Doors and Sweet Tea: Recipes and Tales from a Southern Cook via Framed Cooks
1 cup granulated sugar
1 cup granulated sugar
1/2 cup packed light brown sugar
1/2 cup buttermilk
1 tablespoon light corn syrup
1/2 teaspoon baking soda
1/4 teaspoon coarse salt
4 tablespoons butter
1/2 teaspoon vanilla extract
1 cup chopped pecans
4 slices bacon, cooked crisp and crumbled
Combine sugars, buttermilk, corn syrup, baking soda , and salt in a 3-quart heavy saucepan (this will bubble up a lot so don't use anything smaller). Stir to combine.
Attach a candy thermometer and cook over medium heat, stirring occasionally until thermometer reaches 236 degrees. This will take about 20 minutes and you will see a lot of hissing and blurping in the pot when you stir. BE CAREFUL when you stir, this stuff is HOT!
Remove candy thermometer and place pot on a heatproof surface. With a wooden spoon, beat, beat, beat, the mixture until it loses it's gloss. Sound confusing? I thought so too. I never did see a "loss of gloss." Instead, as soon as I saw this start to get the least bit thick, I started dropping by tablespoon fulls on a piece of aluminum foil. If the mixture hardens in the pan, add a small amount of water and return to the heat until smooth and liquid again, then tart dropping them on the foil again. Let pralines cool completely on foil, at least thirty minutes.
This made about 20-24 small pralines.